
Getting a perfect wall finish can be satisfying. Smooth walls are attractive and visually appealing in a room or area. When trying to achieve this goal, you should understand the process of fixing gib. This tutorial explains the individual processes to prepare people for a perfect finish.
Understanding Gib Fixing
Gib fixing is the practice of fixing plasterboard (called gib) to the wall framing. It is used mainly to generate a clean surface before painting or wallpaper. This sounds more difficult than it actually is, especially if you think about how to build it, by step.
Tools and Materials Needed
Make sure to collect all the initial tools and items to start the process. Preparation ensures a smoother workflow.
- Plasterboard: Choose the right length and thickness
- Screws: The right ones for plasterboard installation
- Screwdriver or drill: A drill bit with a power drill can speed things up and is less effort.
- Utility knife: Used to be for cutting plasterboard.
- Measuring tape: For making accurate measurements.
- Level: Making sure the boards are straight.
- Joint compound: For taping joints.
- Taping Knife: Used to apply joint compound.
- Sandpaper: For smoothing the surface.
Preparing the Surface
The key to a successful installation is preparation. When starting, make sure to follow these steps for a smoother process.
- Wipe the Wall: Dust and debris can stick and/or bond with the paint finish. Prepping the surface with cleanliness improves adhesion.
- Inspect for Damages: Patch up any holes or crevices. Rough surfaces can impact the result.
- Measure the Area: Grab a measuring tape to measure the area and know how many plasterboard sheets you will need.
Cutting the Plasterboard
Getting the cuts right with plasterboard. As long as you do it correctly, this is how.
- Mark and Measure: Use a mascara pencil and measuring tape to mark straight up on the plasterboard the way you want it.
- Score the Board: Run the utility knife along the line that you made. Keep it constant and smooth for a clean cut.
- Break the Board: Carefully snap the board at the score line. That should give you a nice crisp edge.
There are always going to be little ragged edges. Use a knife to neaten those off.
Installing the Plasterboard
The finish needs to be smooth and last a long time. For the best results, follow these steps:
- Lay the Board: Tuck the plasterboard up against the wall snugly.
- Screw In: Use screws to attach the board. Position them around a foot apart.
- Level It: Use a nice level to make sure the plank is level. Adjust if necessary.
Sealing the Joints
The joints have to be sealed to form an impression of continuity. It includes the taping and the application of the joint compound.
- Joint compound: Spread a light coat of compound over the seams with a taping knife.
- Joint Tape Application: Lay tape into the compound so that it is completely embedded.
- Add More Compound: Spread a second layer of compound on top of the tape. Smooth it out to avoid bumps.
- Drying period: Wait for the compound to dry completely. This typically takes 24 hours.
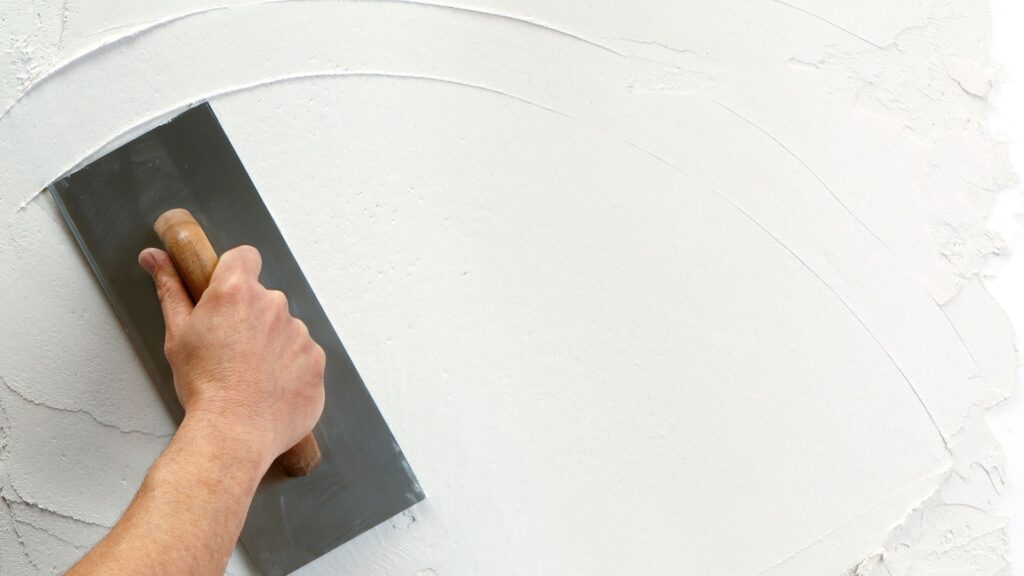
Sanding the Surface
Sanding provides a smooth surface for painting or finishing. So, this is how you will do it perfectly.
- Use the Sandpaper: Start with a fine sandpaper to level the joints and other raised areas.
- Light sanding: Use light pressure to avoid over-torquing the plasterboard.
- Friction test: Rub your hand over the area. It should be consistent and silky.
- Dust It Off: Start by wiping down the wall with a cloth that is moistened to collect those dust particles.
Finishing Touches
The Gib fixing step is critical, and so are the steps just after it. This guarantees that the wall will be prepared for decoration.
- Surface Inspection: Checking the surface. If needed, reapply some more compound and continue the sanding process.
- Before painting, apply a coat of primer. It assists with the adhesion of the paint and improves the result.
- Select a Good Paint: Select a good quality paint in order for it last and to be colorful.
Common Mistakes to Avoid
If there are pitfalls common in working with them, knowing about them can save a lot of effort and cost. Here are some things you want to pay attention to.
- Ignoring the Process: Make sure you really take your time to ensure every aspect of the process is done correctly. A smooth finish requires a measured path.
- Screws that are not flush: If you are fastening plasterboard, the screws should be held flush to the surface in order to prevent bumps.
- Not Sanding Enough: Sanding is essential for getting a smooth surface. Don’t rush this step.
Benefits of Professional Assistance
DIY projects can be fulfilling, but expert assistance provides proficiency and speed. Professionals hire gib fixing services in Manukau to do this job to perfection. Many times, professional services offer a warranty so you can rest assured.
Conclusion
Gib fixing is a great skill for anyone who wants to improve their home. Well, if they follow these steps, they can do it like pros with good-looking, smooth walls. If you want to get rid of garbage, then you need to burst your bubble; whether you do it personally or hire people for it, understanding the process is what matters if you want it to be right. In addition to aesthetics, a beautifully finished wall also enhances the beauty of any place.